Performance-based mobile agency for global app and product promotion
learn more >Self-serve platform for programmatic media buying enhanced with DSP technology
learn more >Video ads wrapped in interactive ad formats & seamlessly integrated into the website
learn more >
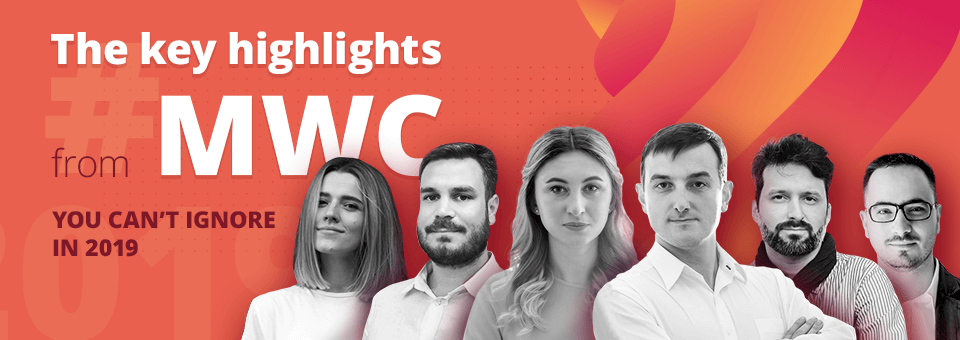
Ade Husnul Khotimah
Strategic & Partnership


Marina Leung
Traffic Operation Manager


Rohit Nayyar
Managing Director


Erwin Bos
European Sales Director
Ade Husnul Khotimah
Strategic & Partnership
Marina Leung
Traffic Operation Manager
Rohit Nayyar
Managing Director
Erwin Bos
European Sales Director